

How To Use My Iphone 5s Camera
About a month ago, Apple announced the iPhone 5. It was released on September 21 and I was fortunate enough to receive mine that day, just in time for a trip to Seattle. This was not just a new iPhone for me, it was my first iPhone. The excitement of having the newest iPhone in my hands and an entire week to explore and photograph Seattle was almost more than I could handle. With a fully charged battery and comfortable shoes on my feet, I set out to see what the iPhone 5's camera had to offer us photographers.
1) Initial Impressions
The first time I used the Camera app, I couldn't believe how fast and responsive it was. Coming from an older Android phone (Galaxy S), the difference was extreme. It's fast to open, focuses quickly and offers almost instant image capture. Then there's the images. They look great! Part of it is the amazing new screen on the iPhone 5, but the camera does take very good images. I knew right away that I was going to like this new "camera".
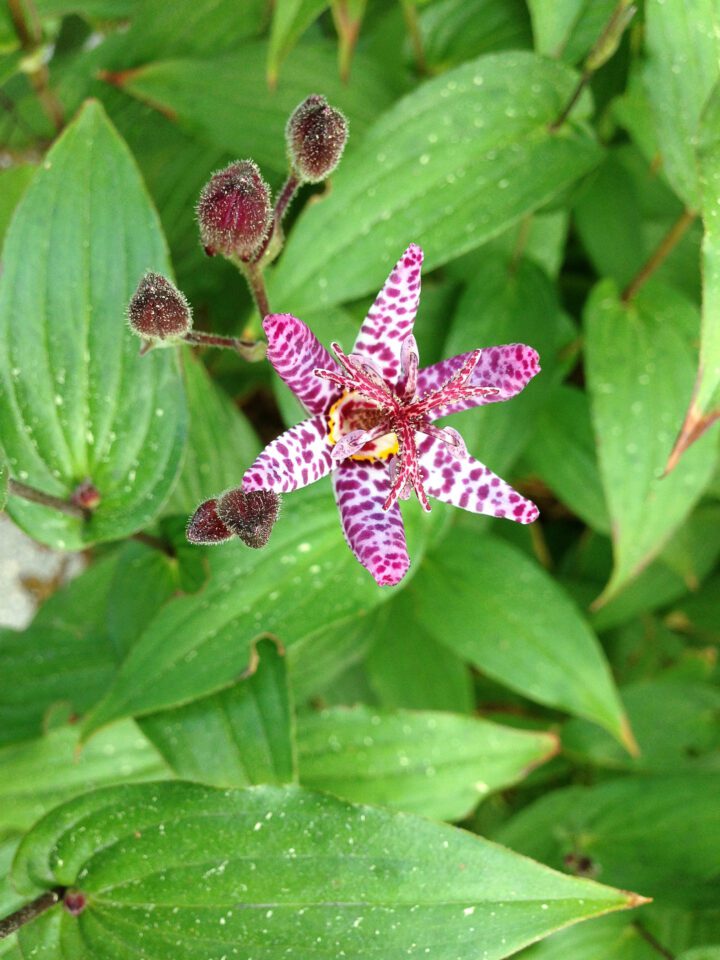
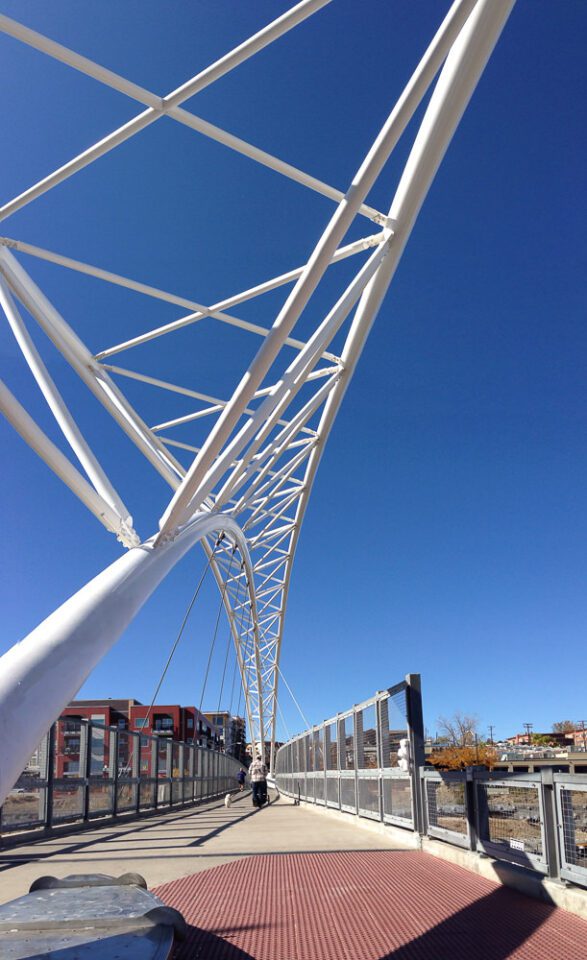
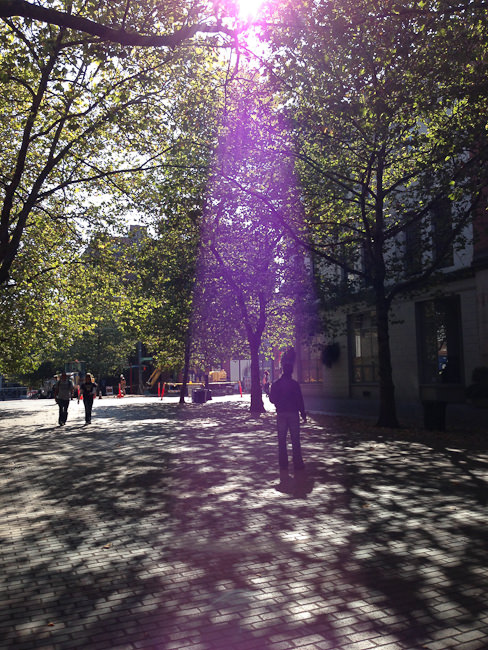
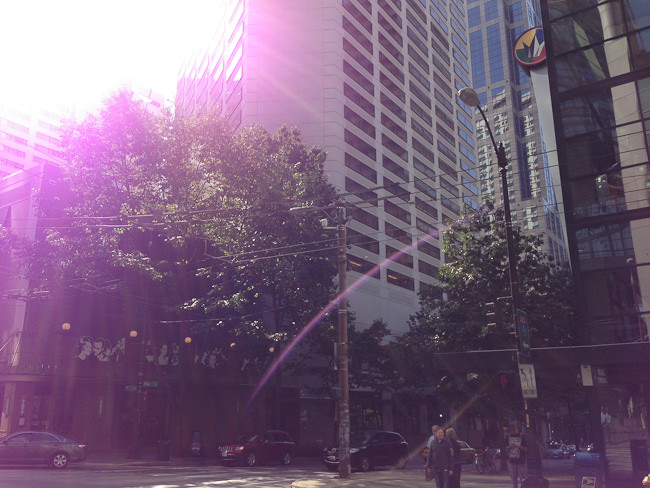
Here are a few unedited images straight from the camera…

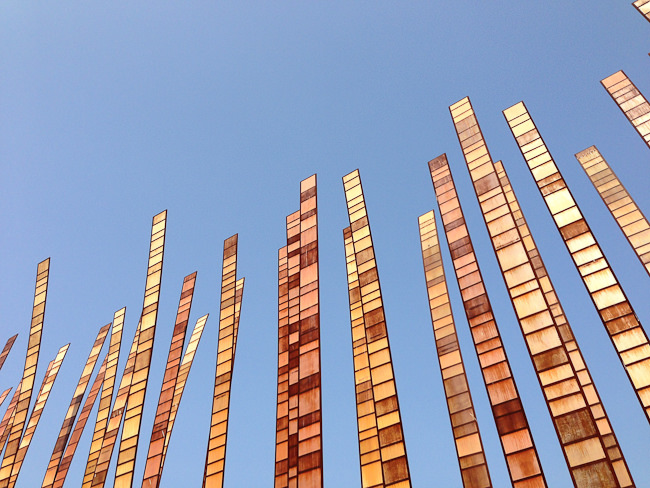

The camera also captures an amazing amount of detail. I know there's obvious compression, but be sure to click and check out the detail in this full-resolution image!
2) Digging Deeper
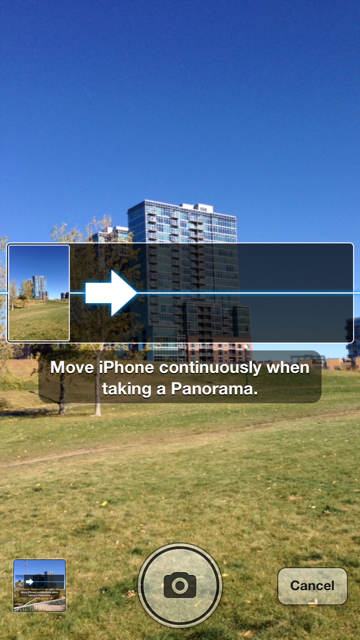
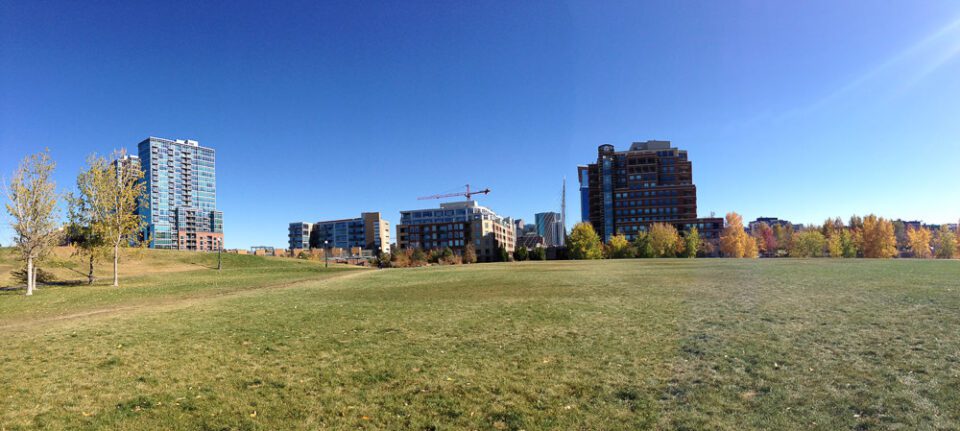
Once I had the camera basics down, I wanted to try out the new panorama feature. It is located in the Options menu found at the top of the camera screen. Just press "Panorama" and you're taken to a new screen with an arrow and a line. Simply press the camera button, move the camera from left to right and keep the arrow on the line. When you're done, press the camera button again. The camera creates a panoramic image from that one motion. The results are impressive. In a variety of tests under different conditions, I only saw one misaligned image and it was only a pedestrian's face.
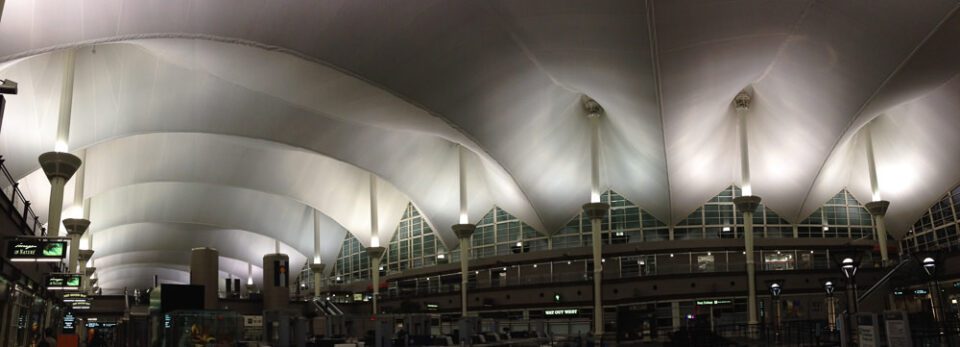
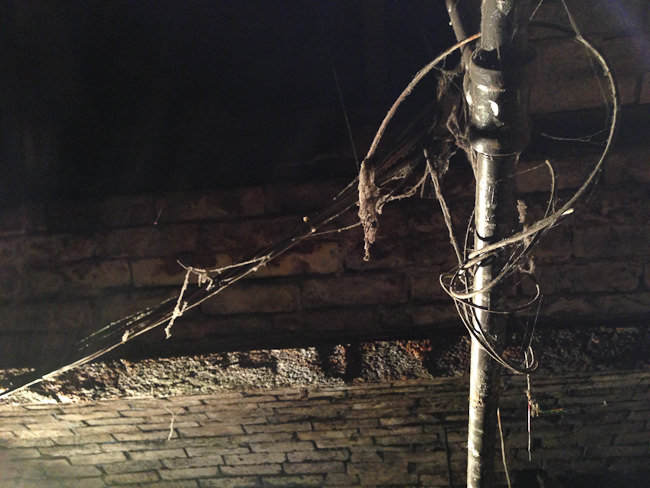
Here's a quick one I took when I arrived back at DIA late at night. I'd love to do one here in daylight!
It even works for vertical panoramas!
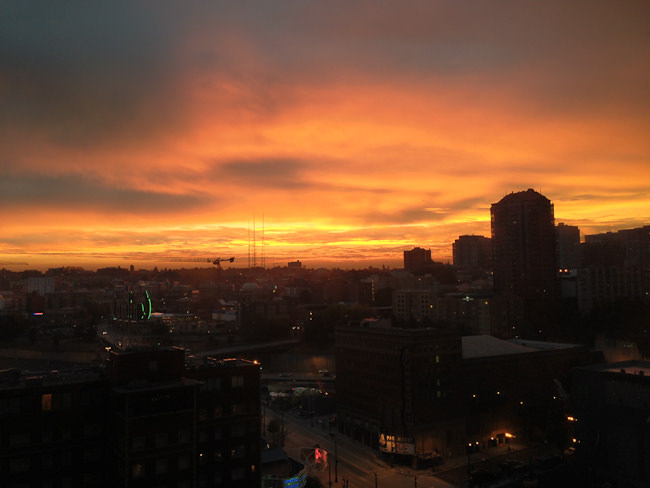
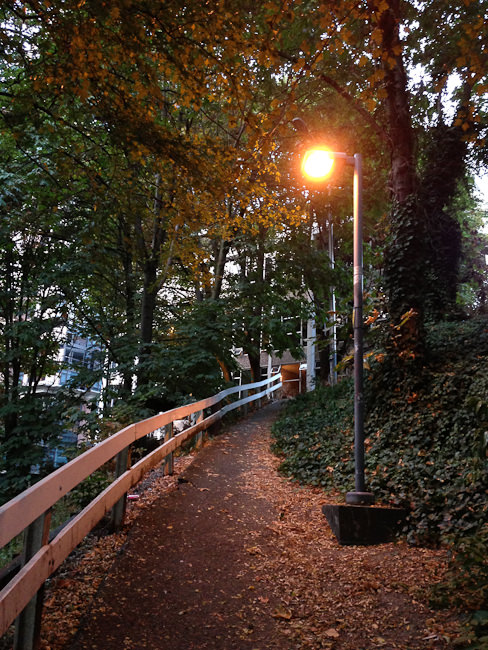
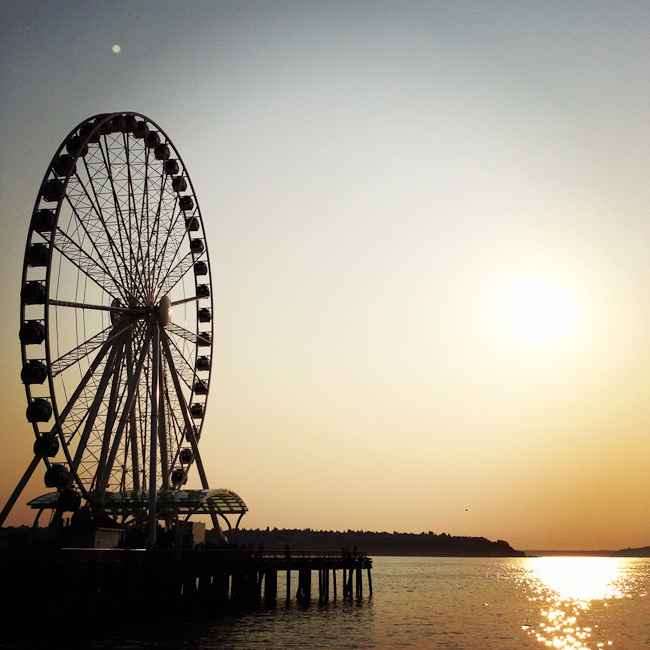
Another area that I was excited to test was the camera's low-light capabilities. The new A6 processor's Dynamic Low Light Mode is supposed to offer up to 2 stops better low-light performance. I was pleased to find that I could photograph city buildings and street scenes at night and get very good images, especially when shooting with HDR turned on. There is definite noise in the dark areas of the images, but it's not enough to make the images unusable.
Shot near dusk:
Shot without HDR:
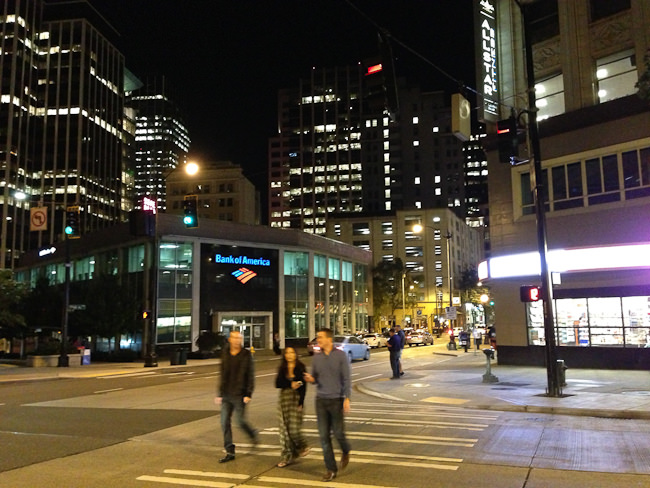
Shot with HDR (notice the recovered information in the highlight areas):

3) Purple Haze
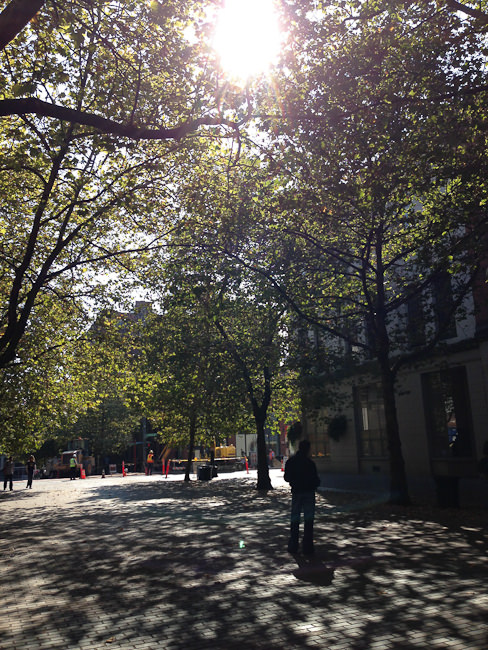
The new lens cover is made of a sapphire crystal, which is supposed to offer superior and scratch-resistant lens protection. Unfortunately, it also seems to create a purple flare under certain conditions. Many people were very unhappy about this purple flare and it was quickly picked up by a variety of blogs. I decided to see what all of the fuss was about, so I went out into the sun to see if I could recreate the purple flare in my images. It didn't take me long to see it. When the sun is just out of the frame, you'll see a bright purple flare in your photos. Is this annoying? Yes. Is it preventable? Yes. I found that it doesn't take much of an adjustment to make the purple disappear completely. Unfortunately, I did start to notice it in more of my images after I had taken them, although I didn't notice it when I was taking the image. In fact, it's something that can happen with previous iPhone models as well, but it seems to happen more easily with the iPhone 5. Is this a deal-breaker for the phone? No, but it is a little disappointing that it wasn't caught by Apple before the phone was released:
4) Conclusion
It's hard to believe I've only been taking photos with the iPhone 5 for a month now. It feels so natural to use, I can't imagine using anything else to capture a quick photo while I'm out and about. For casual photos, the quality is more than enough to share online or to make a small print (I just got some great looking 5×7 prints this week). I was perfectly comfortable using nothing but the iPhone to take photos around Seattle. I didn't use my D800 the entire time I was there until it was time to go to work.
Although the native Camera app takes great photos, there are apps you can download to get even more out of the camera and your images. I'm using Camera+ as my camera app because it gives me separate control over focus and exposure and has some built in editing tools. As with any image from any camera, you can improve the iPhone 5's images with editing apps. In addition to Camera+, I've been using VSCO CAM for editing. Finally, no discussion of camera phones and apps would be complete without mentioning Instagram. I'm very active and try to post at least one image a day. If you'd like to see what I'm shooting with my iPhone, please find me on Instagram. My username is "john_bosley", or you can just view/follow my Instagram images on Pinstagram.
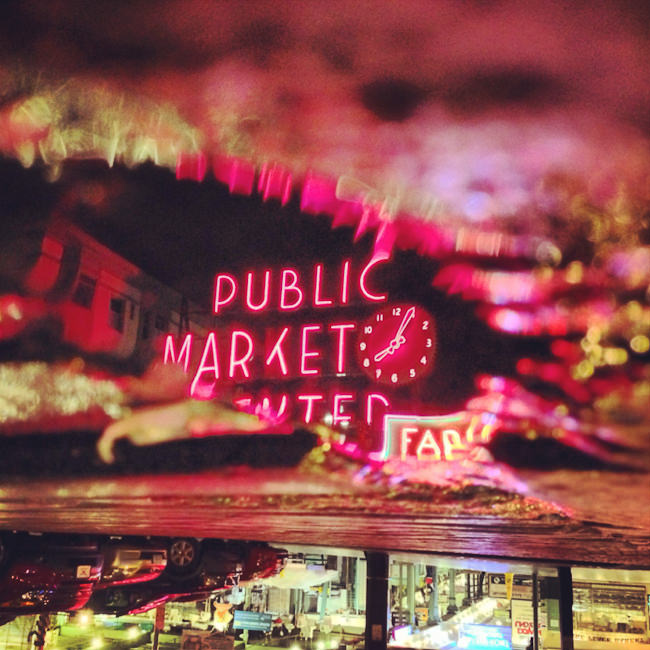
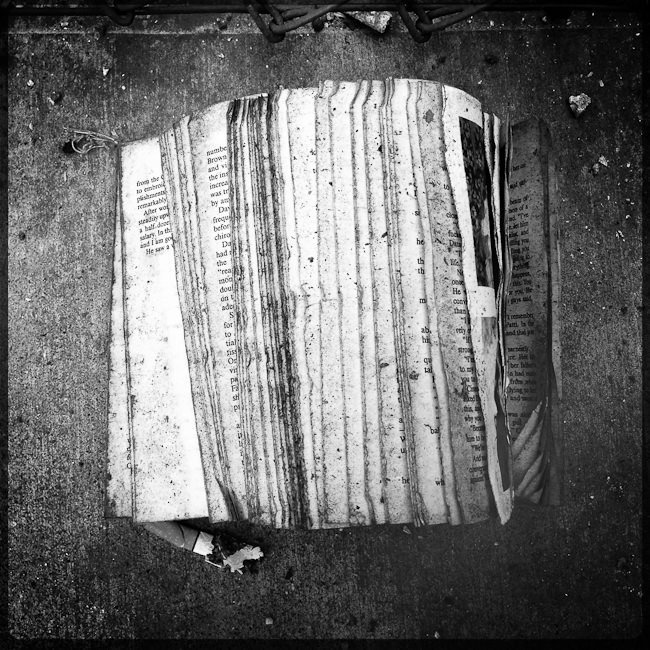
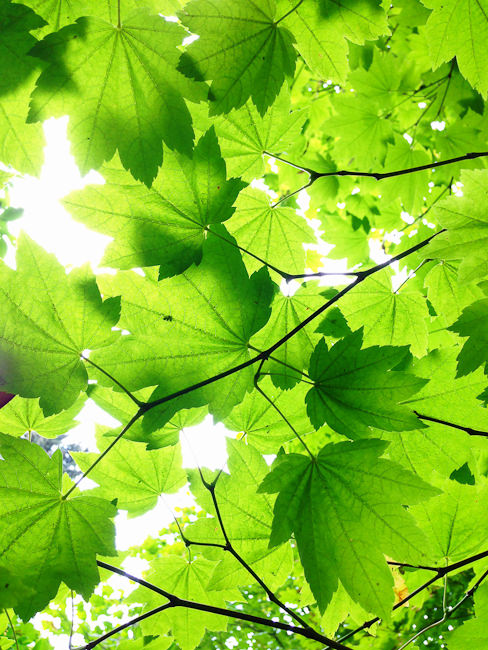
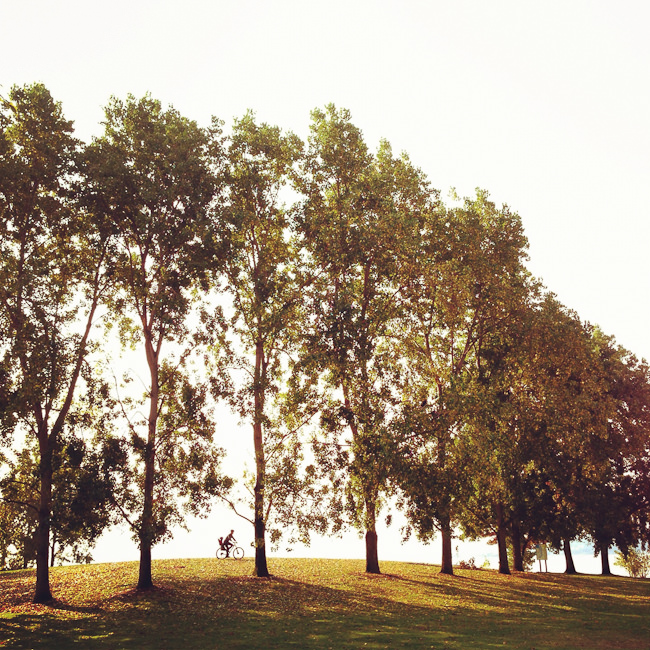
Here are a few photos that I've either taken with Hipstamatic or have edited in other apps. Some have appeared in my Instagram stream and some are being seen for the first time here:
Apple iPhone 5 Camera
- Optical Performance
- Features
- Build Quality
- Focus Speed and Accuracy
- Value
- Image Quality
- High ISO Performance
- Size and Weight
- Metering and Exposure
- Movie Recording Features
- Dynamic Range
Photography Life Overall Rating

How To Use My Iphone 5s Camera
Source: https://photographylife.com/reviews/iphone-5-camera
Posted by: spinaxyll1986.blogspot.com
0 Response to "How To Use My Iphone 5s Camera"
Post a Comment